What to check before installing a home EV charger
Getting the electrical side right for home EV charging
Adding an electric vehicle charger at home is a practical step that many drivers consider. But the process involves more than just buying a charger and plugging it in. The electrical work that supports the charger has to be correct from the start. A few key checks can help you avoid problems later, from tripped breakers to slow charging speeds. This article walks through the main points to look at when planning home charging electrical work.
Service panel capacity
The service panel, sometimes called the breaker box, is where your home's electricity is distributed. Every circuit in the house connects back to this panel. When you add a new EV charger, the panel needs enough spare capacity to handle the extra load. A typical home has a 100-amp or 200-amp service. A Level 2 charger can draw 30 to 50 amps, which is a significant addition. If your panel is already near its limit with existing loads like air conditioning, an electric range, or a water heater, you may need to upgrade the service or use load management. A qualified electrician can measure the current load on your panel and tell you if there is room for a charger circuit.
Dedicated circuit requirements
An EV charger should be on its own dedicated circuit. That means no other appliances or outlets share that circuit. The reason is safety and reliability. Charging an EV is a continuous load, meaning the circuit runs at high power for hours at a time. Sharing the circuit with other devices could overload the wiring or the breaker, causing it to trip. A dedicated circuit also makes it easier to size the breaker and wire correctly for the charger's specifications. The electrician will install a new breaker in the panel and run wiring directly to the charger location.
Breaker size and wire gauge
Every charger has a manufacturer's specification for the maximum current it draws. The breaker size must match that current rating, with some margin. For example, a charger that draws 32 amps typically requires a 40-amp breaker. The wire gauge also depends on the current rating and the length of the run. Thicker wire (lower gauge number) can carry more current without overheating. Using wire that is too thin for the breaker size creates a fire risk. The electrician will calculate the correct wire gauge based on the charger's amperage, the distance from the panel, and local electrical code. Never guess at these numbers; they are critical for safe operation.
Continuous load and derating
Electrical code treats EV charging as a continuous load, defined as a load that runs for three hours or more at full power. Because of that, the circuit components must be derated. In practice, that means the breaker and wiring are sized so that they are not stressed at the maximum continuous current. For a 40-amp breaker, the continuous load should not exceed 32 amps (80% of the breaker rating). This is why you see chargers rated at 32 amps on a 40-amp circuit, or 48 amps on a 60-amp circuit. The derating rule protects the wiring from heat buildup over long charging sessions. It is a standard part of home charging electrical work and should be factored into the design from the start.

Voltage and charger compatibility
Most homes in North America have 240-volt service available for large appliances. EV chargers are designed to run on 240 volts for faster charging. Some older homes may have only 120-volt outlets in the garage, which would limit you to Level 1 charging. If you want Level 2 charging, the electrician needs to confirm that 240 volts is available at the panel and run a dedicated circuit to the garage or outdoor location. The voltage drop over long cable runs is another consideration. If the charger is far from the panel, the voltage may drop enough to affect charging speed. The electrician can calculate the voltage drop and adjust the wire gauge to compensate.
Load management for limited panels
If your service panel does not have enough spare capacity for a full-sized charger circuit, load management is an option. Load management devices monitor the total current draw of the home and automatically reduce the charger's power when other large loads are running. This allows you to install a charger without upgrading the main service. It is a cost-effective solution in many cases, especially for homes with 100-amp panels. The device communicates with the charger through a control cable or wirelessly. It is important to choose a charger that is compatible with load management systems, or to install a separate load management controller. This approach is code-compliant and widely used in homes where a service upgrade would be expensive or impractical.
Outdoor installation and weatherproofing
If the charger will be installed outdoors, the equipment must be rated for outdoor use. Look for a charger with a NEMA 3R or higher rating, which means it is protected against rain, snow, and dust. The outlet or hardwired connection also needs a weatherproof enclosure. The electrician will use outdoor-rated conduit and seal all entry points to keep moisture out. Even if the charger is under a carport, weather exposure is a factor. Rain can splash up, and humidity can cause corrosion over time. Proper installation includes mounting the charger at a height that keeps the cable connection above snow or puddles, and using a strain relief where the cable enters the charger.
Permits and inspections
Most jurisdictions require a permit for new electrical circuits, including EV charger installations. The permit ensures that the work meets local electrical code and is inspected by a qualified authority. Skipping the permit may save time initially, but it can create problems later when selling the home or if an insurance claim arises. A licensed electrician will handle the permit application and schedule the inspection. The inspection typically covers the breaker, wiring, connections, and grounding. Passing the inspection gives you confidence that the installation is safe and code-compliant. It is a straightforward step that protects you and your property.

Choosing between hardwired and plug-in chargers
Chargers come in two main connection types: hardwired and plug-in. A hardwired charger is directly connected to the circuit wiring with no outlet. A plug-in charger uses a NEMA 14-50 or similar receptacle. Hardwired connections are generally more reliable because there is one less point of potential failure, and they handle continuous loads slightly better. Plug-in chargers offer the convenience of being able to disconnect the unit for travel or replacement. Both options are code-compliant if installed correctly. The choice depends on your preference and whether you might move the charger in the future. Your electrician can advise on which type suits your setup.
Grounding and bonding
Proper grounding is essential for any electrical circuit, and EV chargers are no exception. The grounding conductor provides a path for fault current to return to the panel, which causes the breaker to trip if something goes wrong. Without proper grounding, a fault could energize the charger's metal casing, creating a shock hazard. The electrician will ensure that the grounding conductor is continuous and sized correctly for the circuit. In some installations, a ground rod may be required at the charger location, depending on local code. Bonding connects all metal parts of the electrical system together so they are at the same potential. This is standard practice and is verified during inspection.
Future-proofing the installation
If you plan to own an EV for several years, it makes sense to think ahead. Installing a circuit with slightly higher capacity than your current charger needs can save you from rewiring later. For example, running a 60-amp circuit now, even if your charger only uses 48 amps, gives you room to upgrade to a faster charger later. Running conduit from the panel to the charger location also makes future cable changes easier. You can pull new wire through the conduit without opening walls. Discuss your future plans with the electrician so the installation can accommodate them. It is often cheaper to do it once with extra capacity than to upgrade later.
For homeowners in the Bay Area, understanding these electrical fundamentals is the first step toward a smooth installation. Whether you are working with a local electrician or planning your own project, knowing what to ask about service panel capacity, breaker sizing, wire gauge, and load management helps you make informed decisions. The team at woodingelectric.com handles home and commercial EV charger installations in San Jose and the surrounding Bay Area, so they see these requirements daily. Their experience with local codes and utility requirements means they can guide you through the process. If you are considering home charging electrical work, a consultation with a licensed professional is the best way to confirm that your home's electrical system is ready for the added load. woodingelectric.com offers that kind of expertise for homeowners looking to charge safely and efficiently at home.
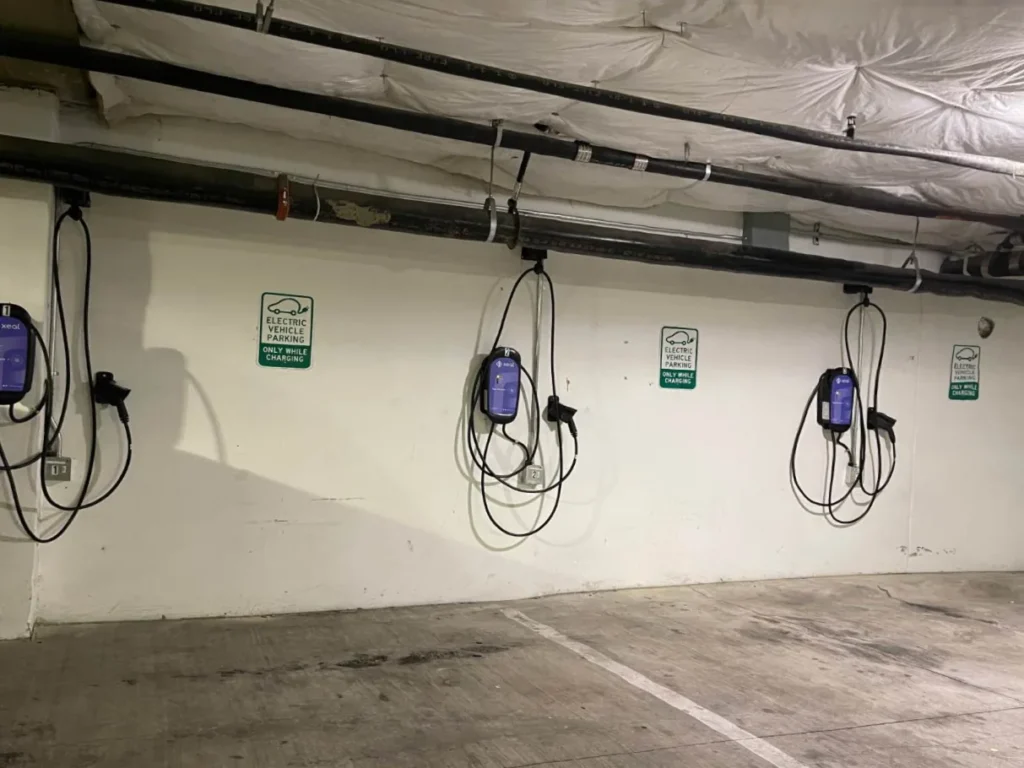
Taking the time to check these points before installation can prevent headaches later. A properly designed circuit keeps your charger running reliably, protects your home's wiring, and gives you peace of mind every time you plug in. The investment in good electrical work pays off in safety and convenience for years to come.